

Everything Else

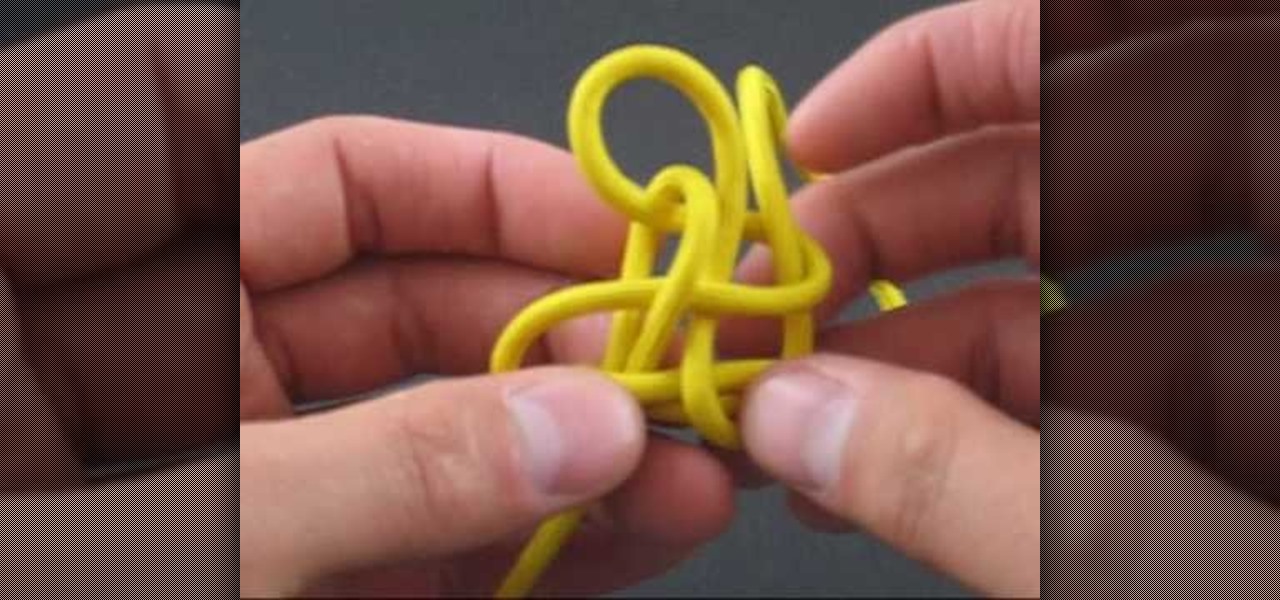
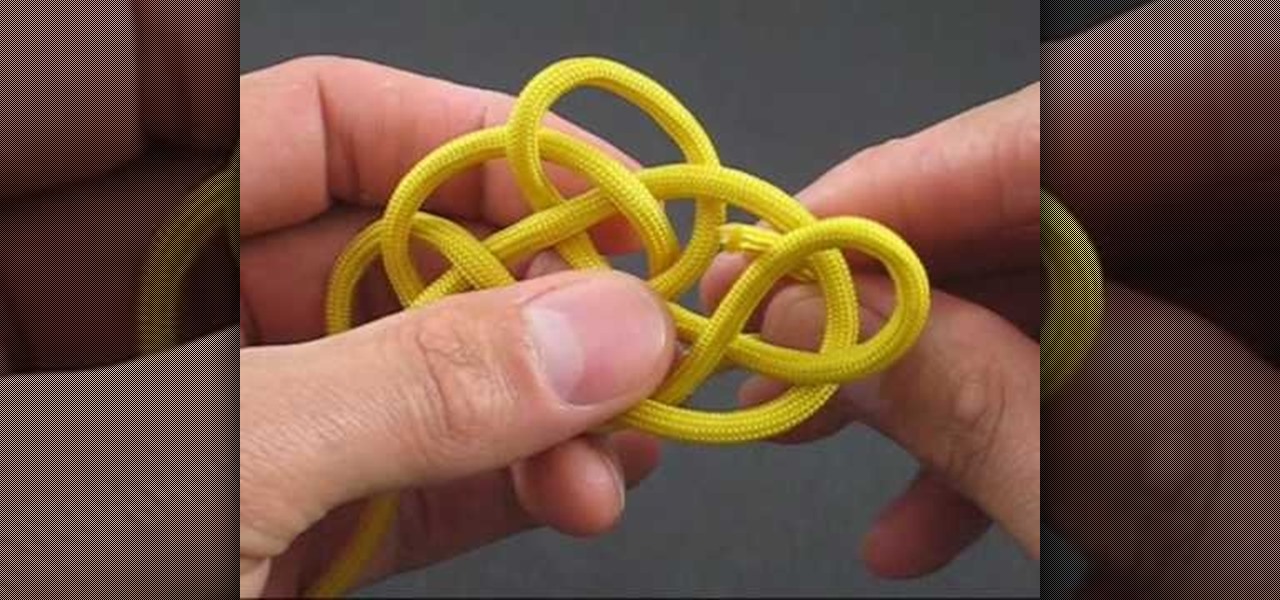
How To: Tie a Chinese Cloverleaf knot
Knotmaster JD from Tying It All Together offers us another of his informative and oddly soothing knot-tying instructional videos. This is teaches us to tie a Chinese Cloverleaf knot, a good-luck charm in both East and West that makes up for its lack of practicality with timeless beauty. From the knot-tyer himself:
How To: Tie a Bumblebee knot
In this calming and useful video, JD of the Youtube knot-tying instructional channel Tying It All Together demonstrates the tying of an obscure knot called a Bumblebee knot, for which good instructions are apparently hard to come by. It is a pretty piece of knot-tying indeed.
How To: Make a rubber band gun
Thanks to How To Make Anything, you can learn how to make and do just about anything! In this video, learn how to make a rubber band gun! Rubber bands can do all kinds of things, especially inflict a little pain on a friend! Here are a few techniques to launch your elastic projectile.

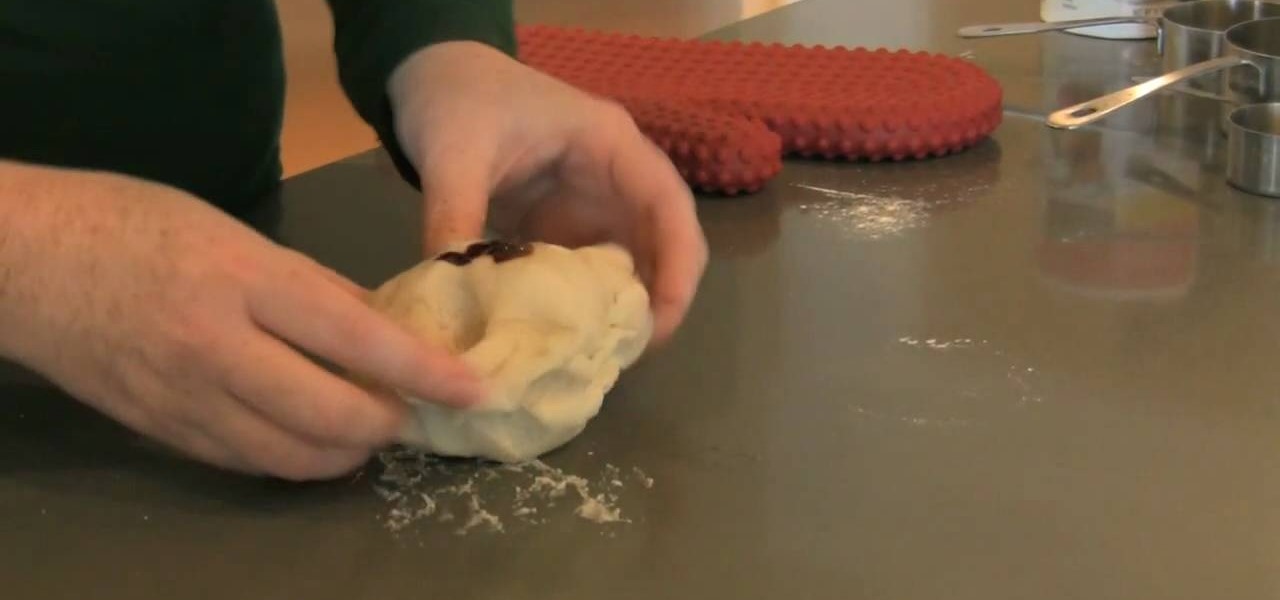
How To: Make homemade playdough easily
Playdough is a fun toy for any age, but it can get expensive, and even though the package says it is non-toxic, how do you know exactly what is in it?
How To: Use the Nerf Gun Long Shot
In this how to video, you will learn how to use the Nerf Gun Long Shot. First, you will need to know about the magazine. These can hold 8 shots and are spring loaded. Do not load 8 shots, as it will jam. Instead, load 6 shots to prevent this. The shots can be used in other guns, but the Long Shot magazine can only use this shots. The holes in the shots make a whistling sound. If you get shot, you will feel it regardless of distance. The gun has a trigger, a mount, a quick grab design, a hidde...
How To: Make a toy parachute
In this video tutorial, viewers learn how to make a toy parachute. The materials required are: lightweight fabric, ruler, scissors, string, 4 hole button and a toy army man. Begin by measuring a 10x10 inch square on the fabric and cut it out. Fold over each of the 4 corners and cue a small hole. Measure and cut 2 lengths of 36 inch string. Take the string and tie it to one end of the hole on the fabric. Run the other end through the button hole and tie it to the diagonally opposite hole on th...
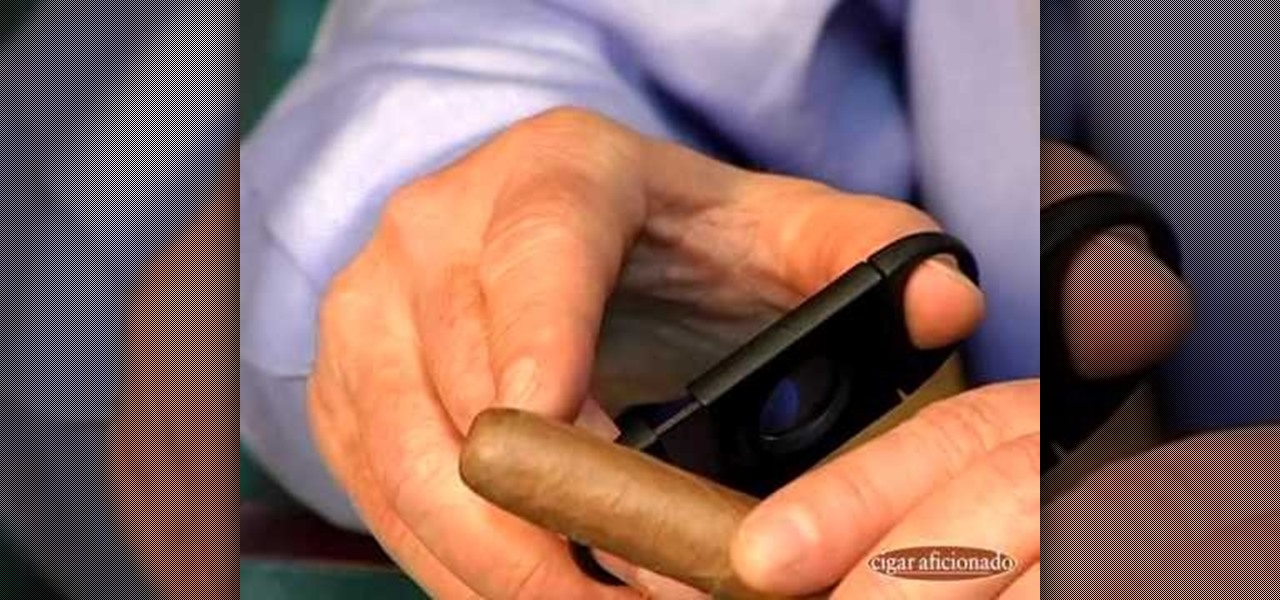
How To: Cut a cigar the best way
Many people ruin a good cigar by a badly placed cut. YouTube user Cigaraficionadovideo is here to help. First in order to understand the cutting mistakes you must first know how a cigar is put together. A hand made cigar is held together a the tip by, what is called, a cap. When cutting this cap you want to do it above the shoulder. Be carful here because a bad cut a little lower could result in the wrapper falling it apart can lead to a mouth full of tobacco which will pretty much ruin your ...

How To: Build a mini fridge
In order to build your own mini fridge, you will need the following supplies: a heatsink, a cardboard box, a petier unit, popsicle sticks, standoffs, an AC adapter, scissors, and on/off switch.
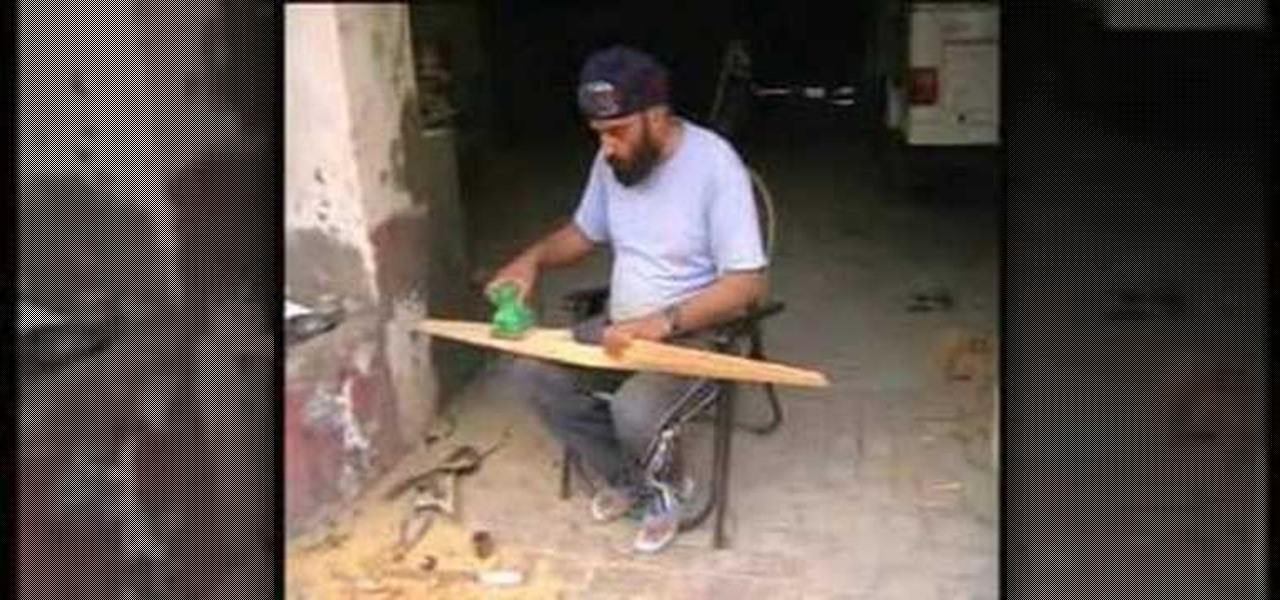
How To: Make a wooden propeller
To carve a wooden propeller first join six pieces of wood together to form a block. Mark the outline of the propeller on the block in pencil. Use a hand chisel and hammer to form the rough shape of the propeller. Once the rough shape is complete use a motorized hand grinder and then a motorized hand held sander to make the propeller smooth. After the sanding is complete you will need to finish it off with a coat of polish. Finally, you will need to balance the motor before fitting it into pla...
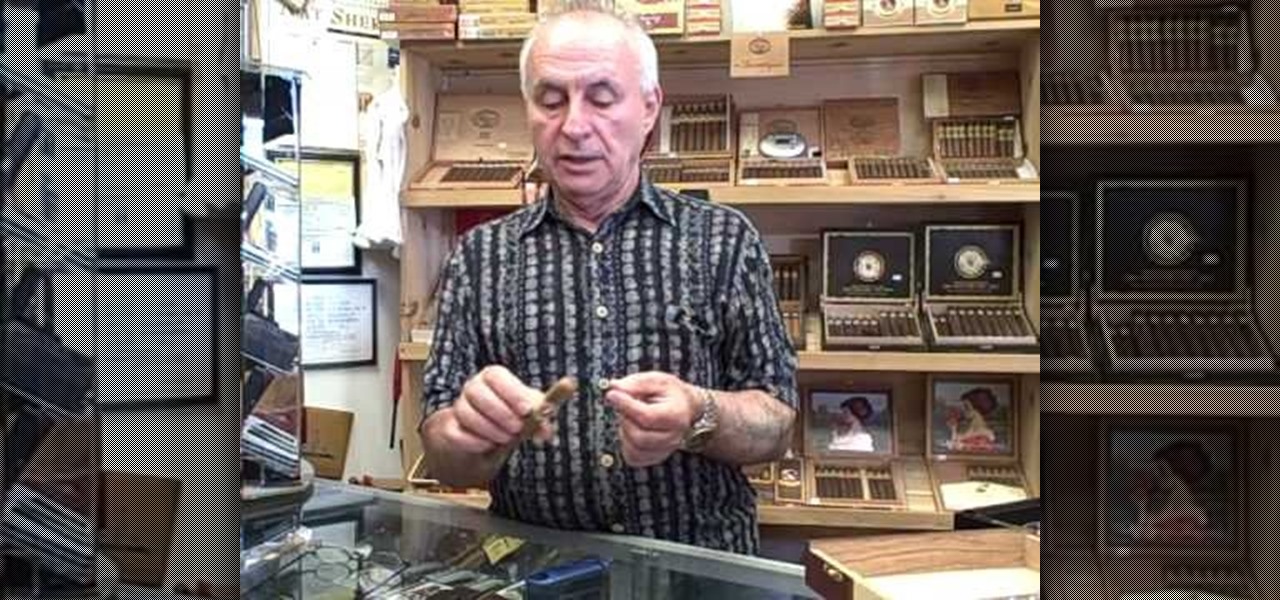
How To: Properly cut and smoke a cigar
In this Hobbies & Toys video tutorial you will learn how to properly cut and smoke a cigar. Remove the cigar from the wrapper and get a nice whiff of the aroma. Different people use different methods to cut the cigar, like sniffing it or using a guillotine cutter or various other types of cutters. Be careful while doing this so that you don’t cut the whole cap off otherwise it may unravel. Also never take the band off the cigar, especially if you are smoking outside and it is very cold. If ...
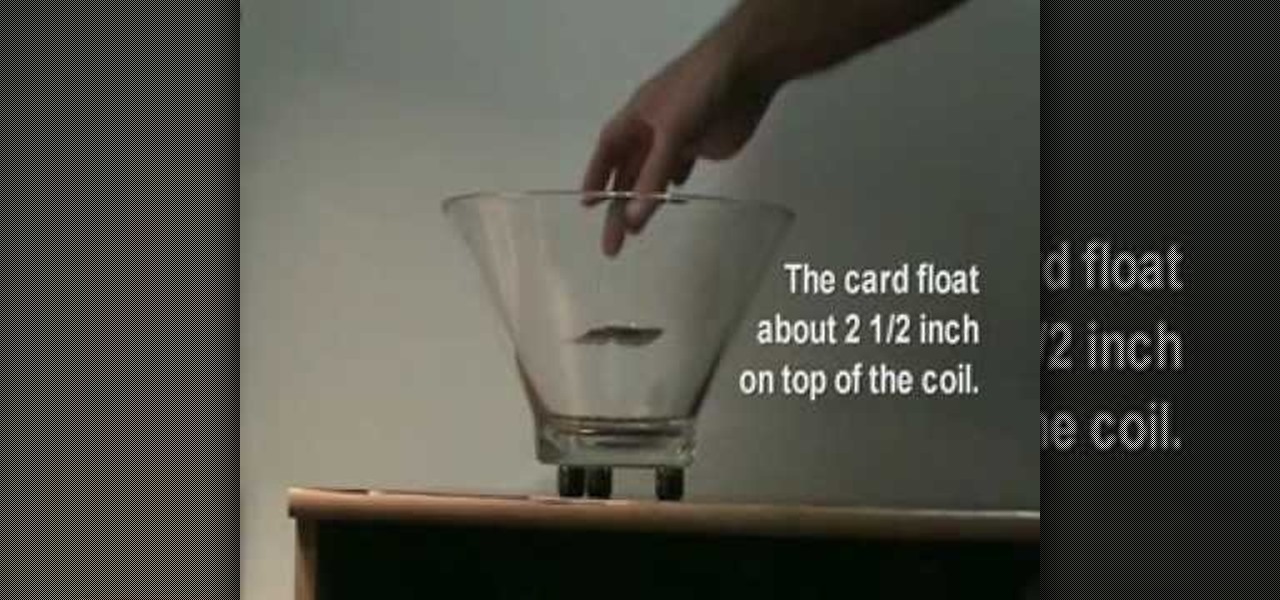
How To: Make a homemade anti gravity toy
Make an antigravity toy with just some magnets, a pyrex bowl, coper wire, a playing card and some aluminium foil. This is really cool! You can even interact with the flying card when the bowl is shut! Put 3 magnets somewhere, making a circle,over them, place a bowl, then wrap the card with aluminum and place a neodium magnet on each corner, then make about 15 loops with the copper wire (make it a copper coil) and put it inside the bowl. Then put the card in the bowl. Be careful, The negative ...

How To: Make an evergreen wreath
In this how to video, you will learn how to make an Evergreen wreath. You will need pine cuttings, craft wire, a frame, and decorations such as pine cones. Each cutting should be about 8 inches in length and have a firm section that will attach to the base. They should also be very bushy. Wrap the craft wire around the sturdiest part of the pine cutting. Keep adding and attaching pine cuttings over the previous cutting until you go around the entire frame. Once this is done, add the decoratio...

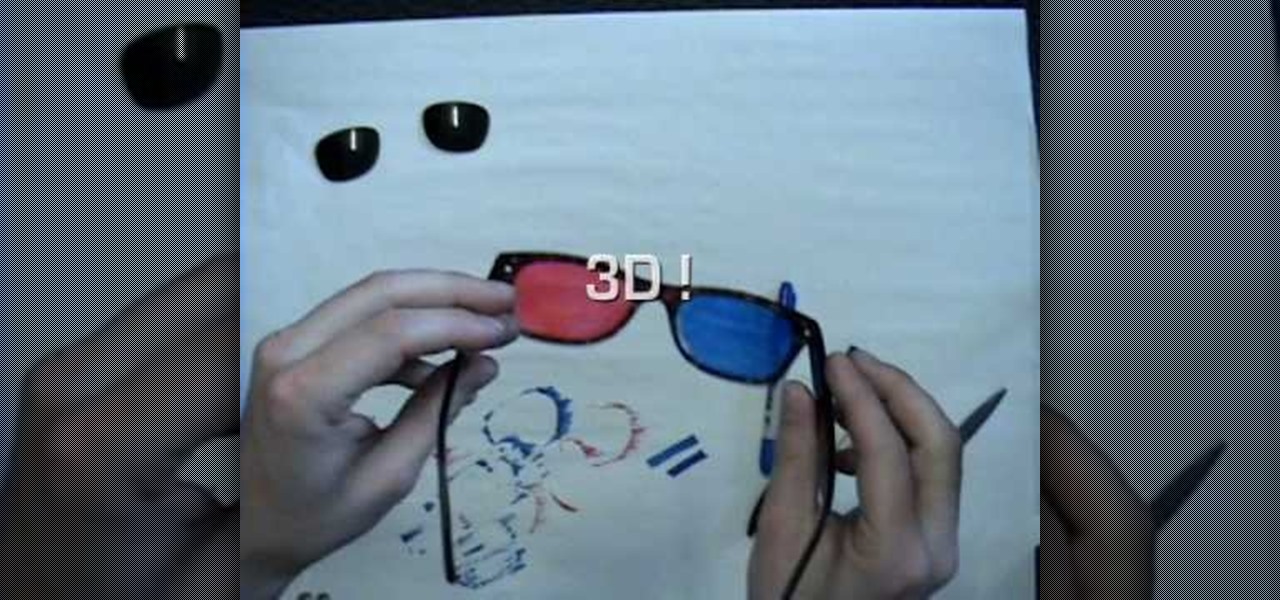
How To: Make homemade 3D glasses
In this tutorial, we learn how to make 3D glasses at home. First, take cardboard and cut two square holes in it. Then, take clear packing take and tape it over the holes. Once you've done this color the front of the tape with a red marker on one of the sides. On the other side, take a blue marker and color it in. That's all you need to do to watch 3D movies and television shows in the comfort of your own home. These are extremely inexpensive and can be made within just a couple of minutes. It...

How To: Make a lego lightsaber
In this how-to video, you will learn how to design and create four of your own Lego light sabers. All you need is six different pieces as seen in the video for the first design. Now connect them vertically, one at a time. All you need is six different pieces as seen in the video for the second design. Now connect them vertically, one at a time. All you need is seven different pieces as seen in the video for the third design. Now connect them vertically, one at a time. For the last design, you...
How To: Make 3D glasses
Here's a quick and easy way to make 3D glasses. Supplies needed to make 3D glasses are: transparency paper, red and blue marker, scissors and an old pair of glasses. Pop the lenses out of the frame of the glasses. Take the lens and trace them with a marker. Color the left eye lens with the Red marker. Then color the Right eye lens with the blue marker. Put the lenses back into the correct frames of the glasses (Left eye Red, Right eye Blue)And there in your hands is the finished product. Your...
How To: Make flubber with household supplies
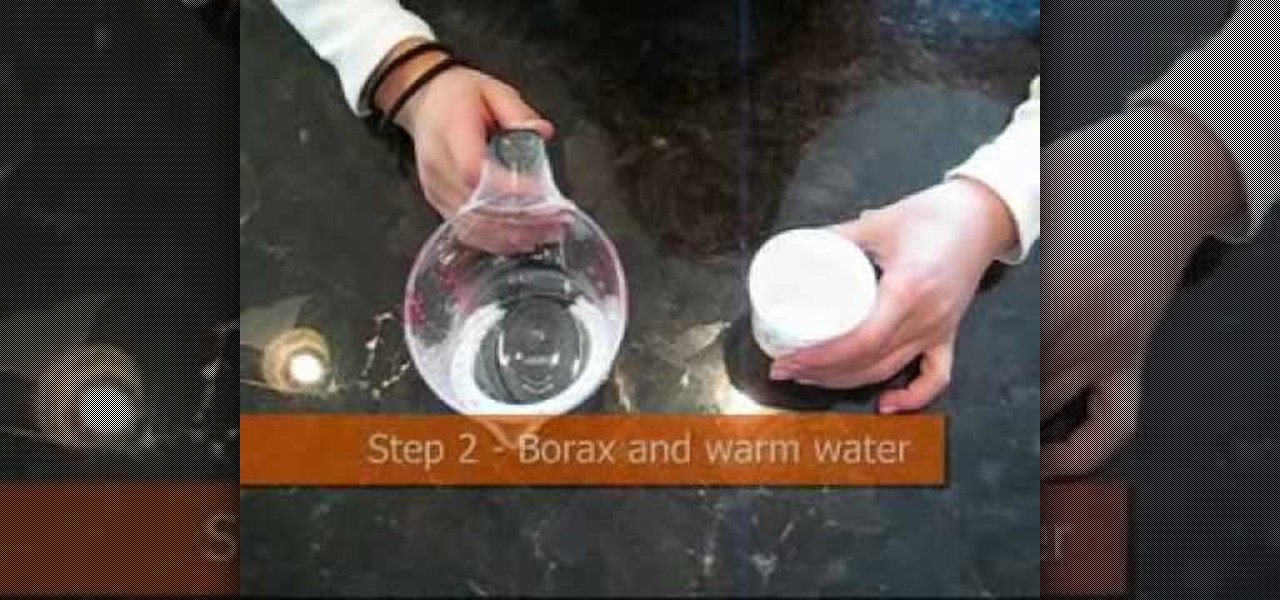
This is a hobbies and toys video tutorial where you will learn how to make flubber with household supplies. Put three fourths cup of warm water into one jar. Measure half a cup of glue. Take food coloring or any other color and pour it into the glue. Stir the glue so that the color mixes well. Now add the glue into the warm water and stir well. For the second mixture, take two teaspoons of borax and half a cup of warm water and stir. Now combine both the mixtures together in a jar. With both ...

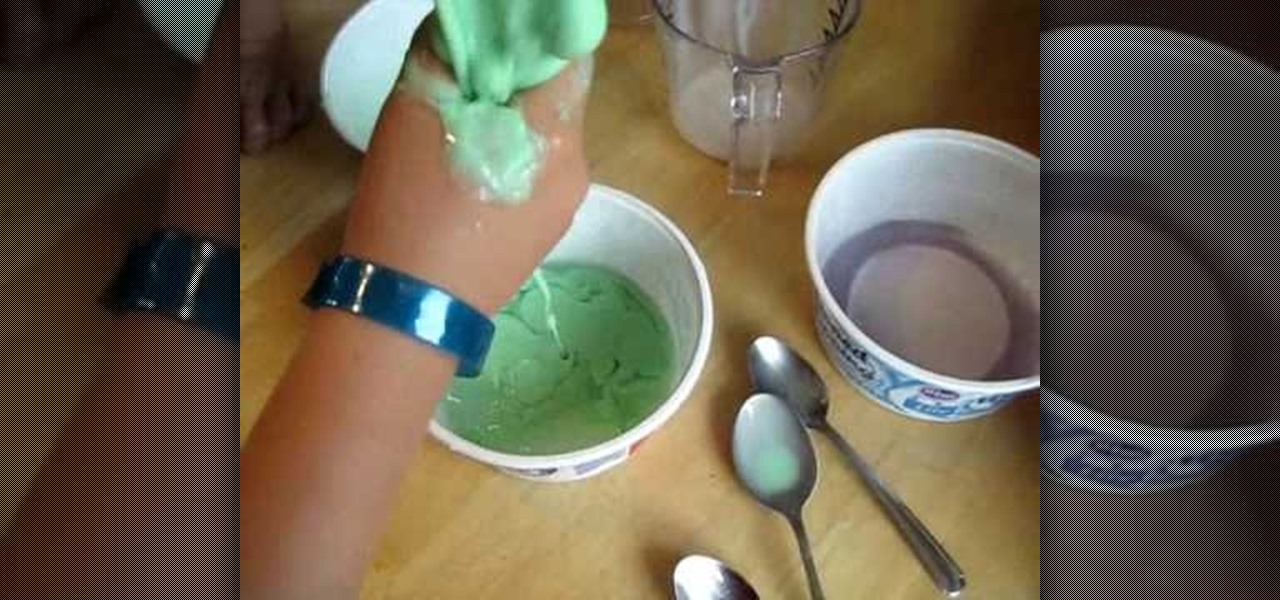
How To: Create a glow in the dark goo slime
Watch this video to learn how to make glow in the dark goo with household products. Add 1 teaspoon of Borax to 1 cup of warm water. Add 1/2 tablespoon of Glow powder and mix for 30 seconds. Pour the contents of a 4 ounce bottle of glue into a measuring cup, fill the container with water to get all of the glue out until you have 1 cup of water and glue, then mix with a whisk. Add the Borax to the mixture and add color mixture (any) too. Play with the goo to mix the color and add to a light to ...
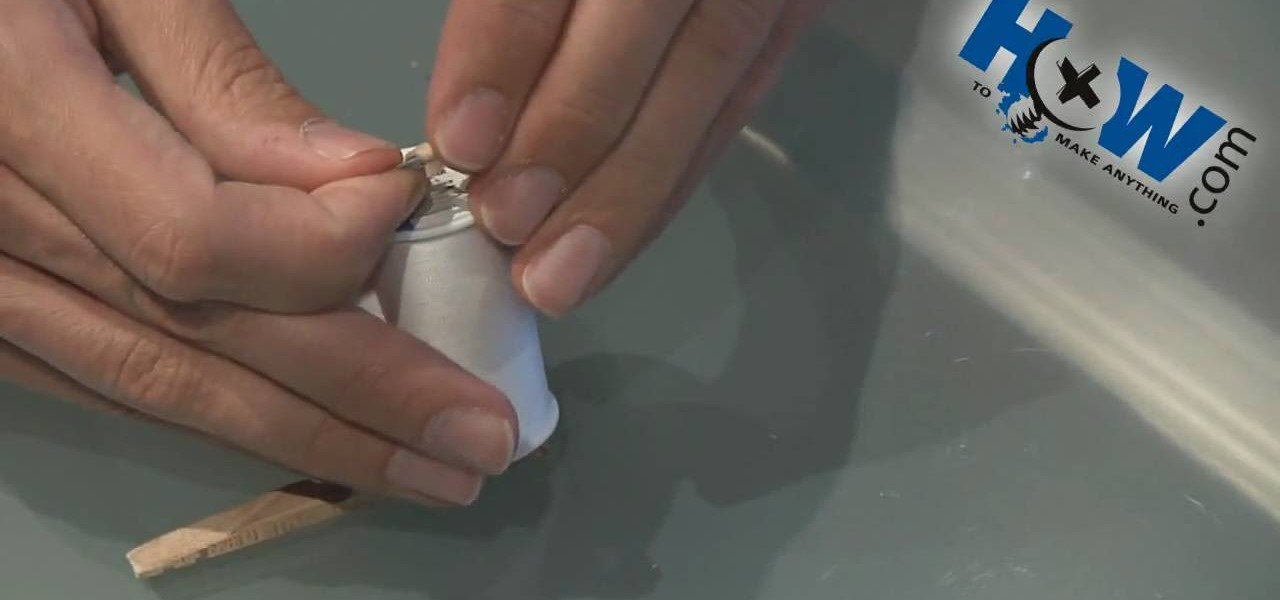
How To: Make a self-moving tractor from a spool of thread
Learn how to make a ‘Spool Tractor’ using common household items, as demonstrated in this video. You would need the following items to make it:

How To: Make slime with glue and fabric starch
This video is pretty clear in describing how to make slime using glue, water, and fabric starch. I don't recommend children watch this because Sean Shameless (the host) adds unnecessary cursing into the instructions. The most important thing to remember in this video is that this slime stains. Sean Shameless also advises the children to not tell their parents about using the fabric starch which tells me that they really should not be doing it. Sean than explains what the possible uses of slim...

How To: Make flubber polymer using glue and liquid starch
This video shows us a fun science project to do with our kids; it teaches us how to make flubber out of glue and cornstarch. In one container pour a small amount of liquid starch. You can find this in most laundry aisles in the store. Next in another container, pour in an equal amount of white school glue. Mix the two together by pouring the liquid starch into the glue. If the mix is real sticky, add more starch and if it is real runny, add more glue. To color your flubber you can dab it over...
How To: Make slime, flubber, or goob for kids
This video shows you how to make slime, flubber or goop. Take two ounces of glue and one quarter cup of water. Pour the water into the glue and stir the mixture. Pour in a few drops of paint and keep stirring. The more paint you add, the darker it will be. Take one quarter teaspoon of borax and one quarter cup of warm water. Add the borax powder into the warm water and mix together to dissolve the borax. It is ok if not all the borax is dissolved. Pour the borax mixture into the glue mixture ...
How To: Make a flubber egg
This video shows the viewer how to make a ‘flubber egg’. A flubber egg is essentially an egg which appears to be normal but is actually very rubbery and bouncy. This means that if dropped the egg will not crack – presumably the name relates to the film ‘Flubber’. The egg is made by submerging it in vinegar for around 3 days. The egg should not be disturbed during this process. The egg can then be removed and dried. It should be relatively rubbery and quite bouncy. This can be a great party tr...

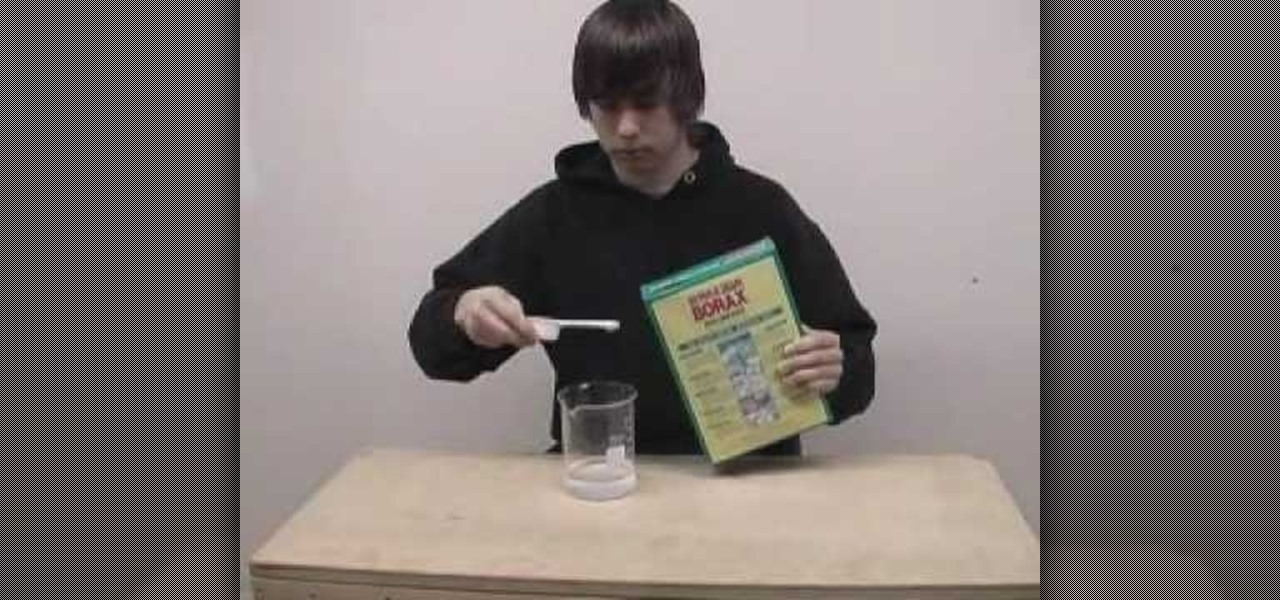
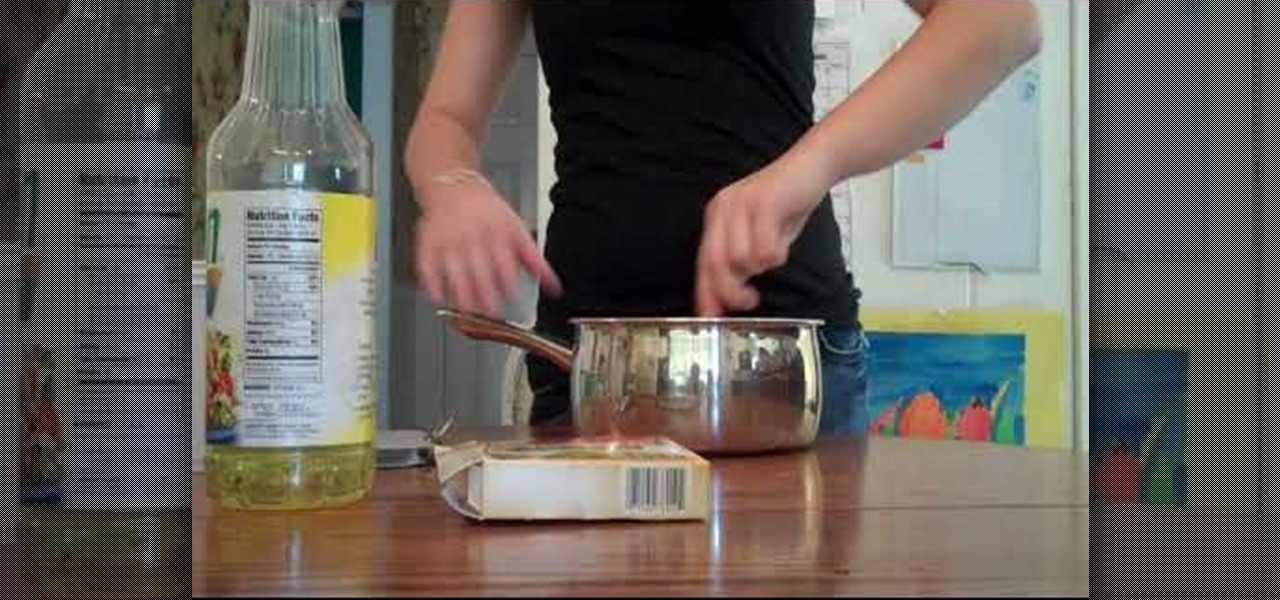
How To: Make flubber in your home kitchen
Whenever you are bored this simple recipe can be used to create a quick and fun science experiment that all ages enjoy! The ingredients you need are a box of borax or cornstarch, a couple glasses of hot water, and glue. Also bowls and food coloring for mixing and added color. The first step is to take one cup of hot water and pour it into a bowl. After you pour the water into the bowl you must add two tablespoons of Borax. Then stir these ingredients until they dissolve. Next add in another c...
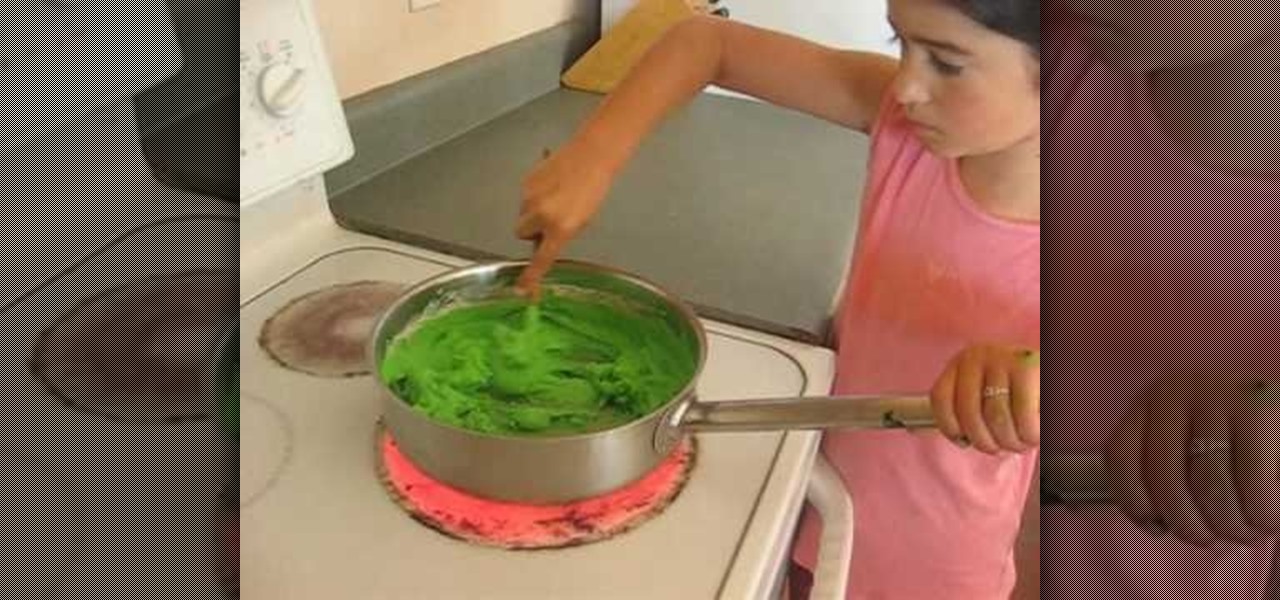
How To: Make non-toxic play dough
This video shows how you can make non-toxic play dough at home. The ingredients that you will need are flour, water, oil, cream of tartar, salt, food coloring, and peppermint essence oil if you want a scent. Put in a medium sauce pan 1 cup of flour, 1 cup of warm water, 2 teaspoons of cream of tartar, 1 teaspoon of vegetable oil, and 1/4 of a cup of salt. Turn on the stove to medium heat. Stir ingredients and you can add food coloring now or wait later and make separate colors. Remove when it...
How To: Make your own non-toxic surface scrub
It is of course, non-toxic, and usable on just about anything, from counter tops to pots and pans. To make the basic scrub, you simply need baking soda, as well as essential oil for scent. The advantage of this is that there are a variety of different essential oils out there--if you're tired of the typical commercial cleaner smells, you can make your cleaning scrub smell just about any way you want. To make a more powerful scrub, you can add Borax to the baking soda mixture. The result is a ...
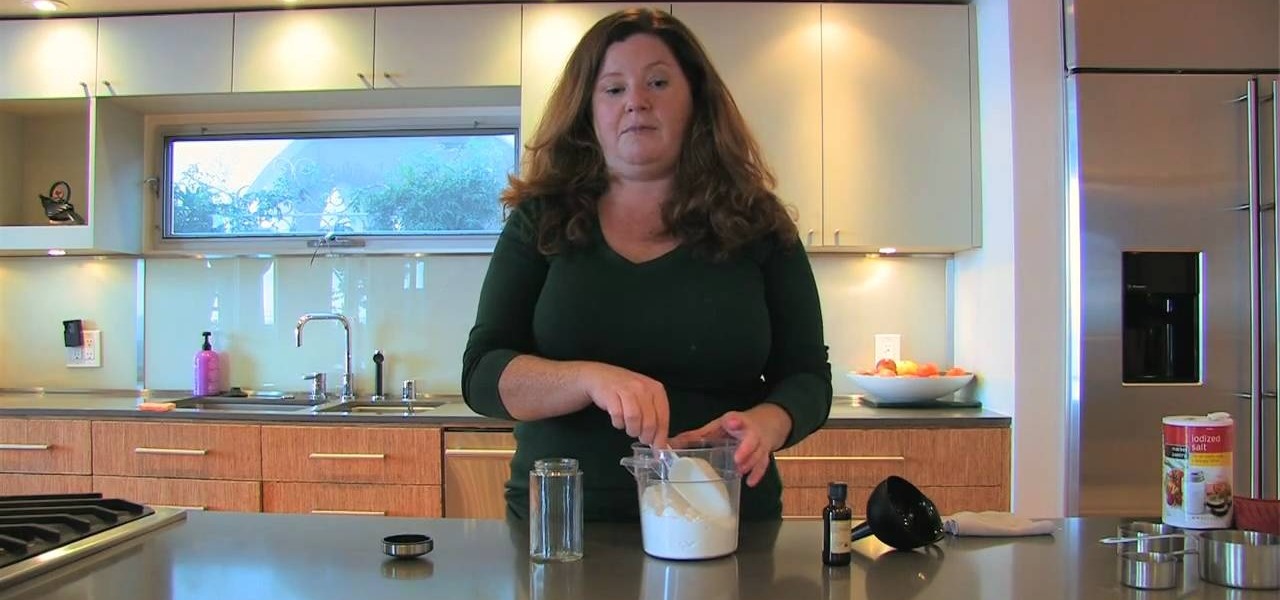
How To: Make play dough from scratch
This video demonstrates how to make your own play dough with simple ingredients – flour, salt, cream of tartar, cooking oil, water, and a few drops of food coloring.
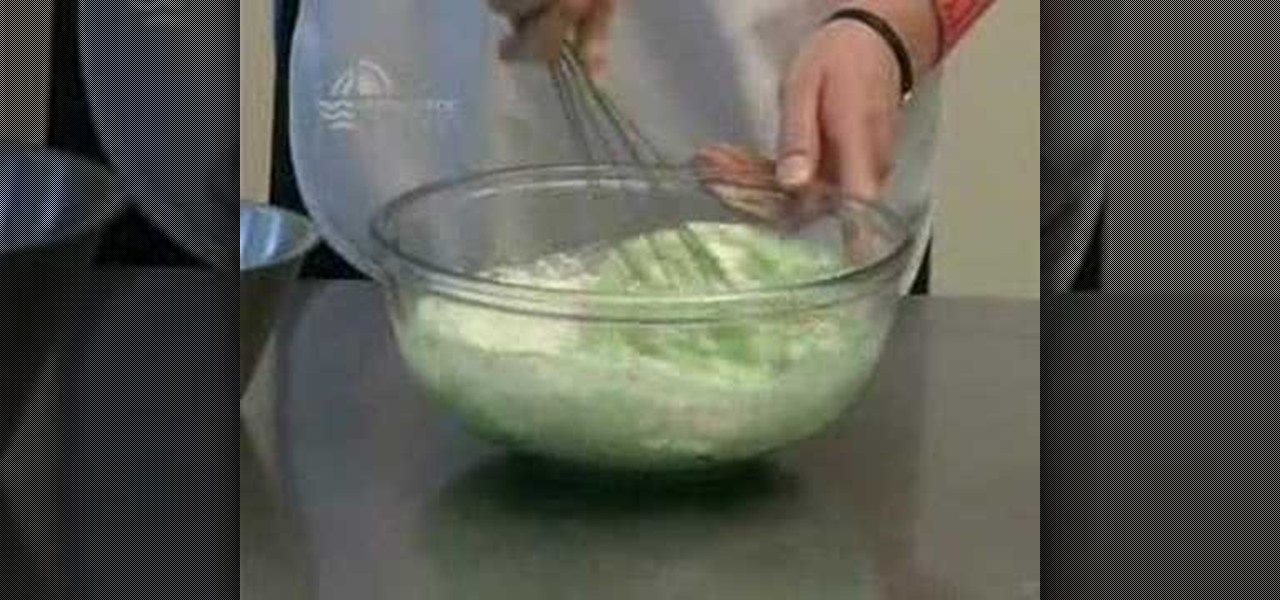
How To: Make playdough and salty clay for kids
Anne, The Making Things Girl, demonstrates how to make play dough. Play dough is almost like clay in that you can bake it so it hardens. Then you can decorate it with things like paint, glitter and rhinestones. To make play dough you will need 2 parts flour, 1 part household salt and 1 part water with 2 tablespoons of olive oil. Mix the ingredients in a mixing machine for one minute. Next, work and knead the dough in a bowl and then on the counter. Knead the dough for a while because it makes...
How To: Easily make homemade playdough for kids
In the video 8-year-old Emma makes the play dough. The ingredients needed for the play dough are flour, water, salt, oil, cream of tartar, and some food coloring to give it the color.
How To: Make homemade playdough for kids
To make homemade play dough you first need to mix all of you ingredients together in a pan staring with two cups of flour and two cups of warm water. Next you add about one cup of salt, two table spoons of vegetable oil, and one table spoon of cream of tartar. After that you stir it until it looks like pancake mix. Now you need to continue to stir it while you cook it over low heat. It should start to stick together and form play dough like masses. You will know the play dough is done when it...
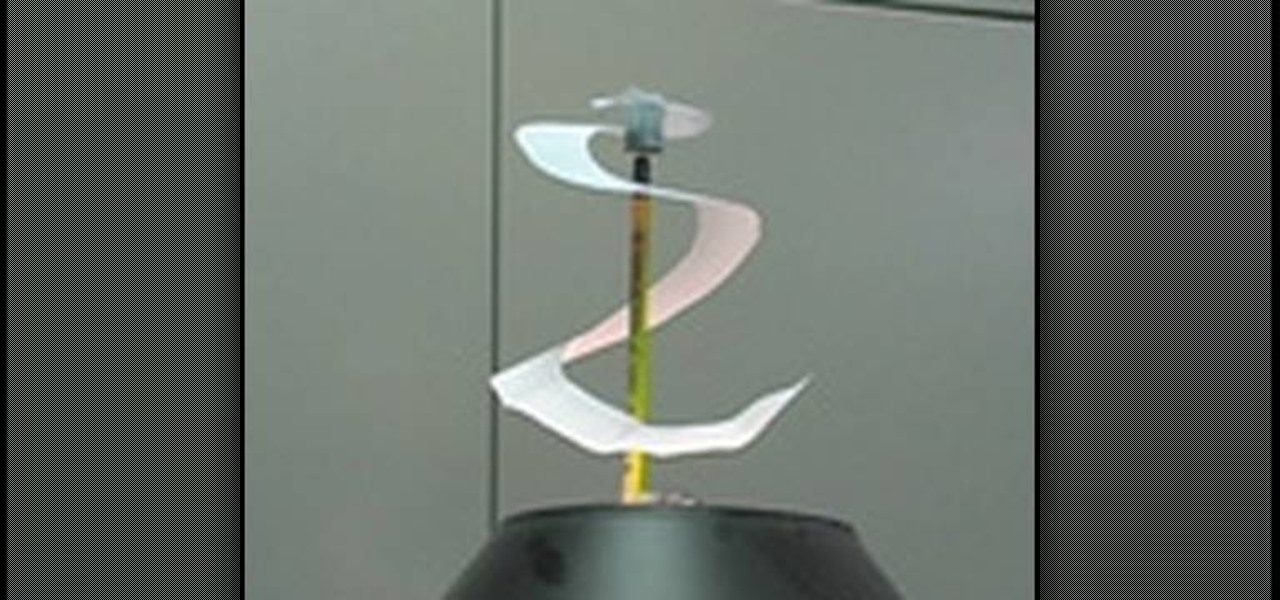
How To: Make a perpetual spinner
This video teaches the secret of making a cool perpetual spinner with a few little things and science. You will need: white paper, scissors, pen, pencil with eraser on its back, bell pin and a suitable cap. Draw a spiral shape on a plain sheet of white paper using a pen. Now cut out the drawn spiral with a scissor carefully. Punch the bell pin on the tail of a pencil. Stick a small cap (which suits the center of the spiral) to the center of the spiral as shown. Now stick the pencil on a table...

How To: Make sparks with steel wool, wire, and a battery
Learn how to make sparks with steel wool wire and a battery in simple steps. You will need thin steel wool, string wire, a battery with two terminals on top and scissors . First measure a meter of string wire and cut it out using the scissors. Now wrap the string wire around the steel wool exactly in the middle. Rub the battery terminals on the wool to check whether it sparks. Now get outside in a safe place and ignite the steel wool by rubbing the battery. Spin the steel wool by holding the ...
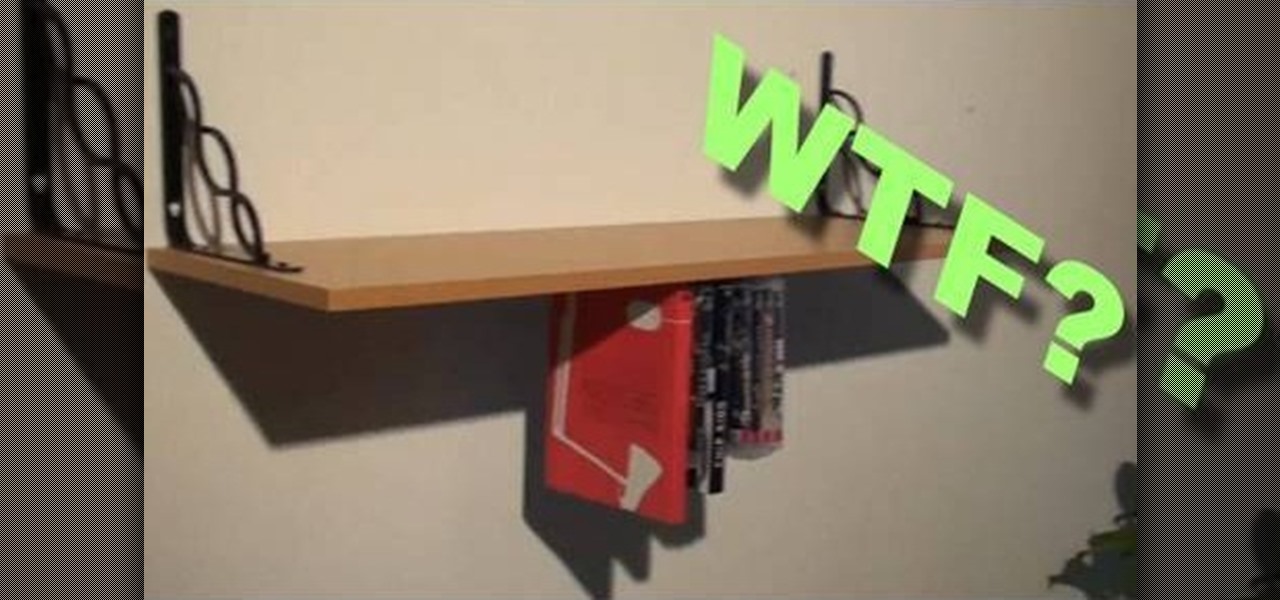
How To: Build an upside down bookcase
Follow these tips and learn to make an upside down bookcase. -Get all your games and books out, measure them to a piece of Velcro.
How To: Make flubber at home
Why pay for slime when you can easily make it in your own kitchen? It stretches, bounces, molds, breaks, and gives kids hours of fun. This instructional video demonstrates just how easy it is to make flubber at home. Just follow the illustrated directions and you'll be having slime-related fun in no time.

How To: Whistle with 4 fingers
In this video the instructor shows how to whistle using four fingers. The first thing he shows is how to make a V formation using the index finger and middle finger of both your hands. Now he shows how to place them on your tongue by folding the tongue back words. He shows how to seal around all the cracks in the mouth and says that the air should be let out only through the center opening. He finally blows a whistle using the method shown. This video demonstrates how to whistle using four fi...
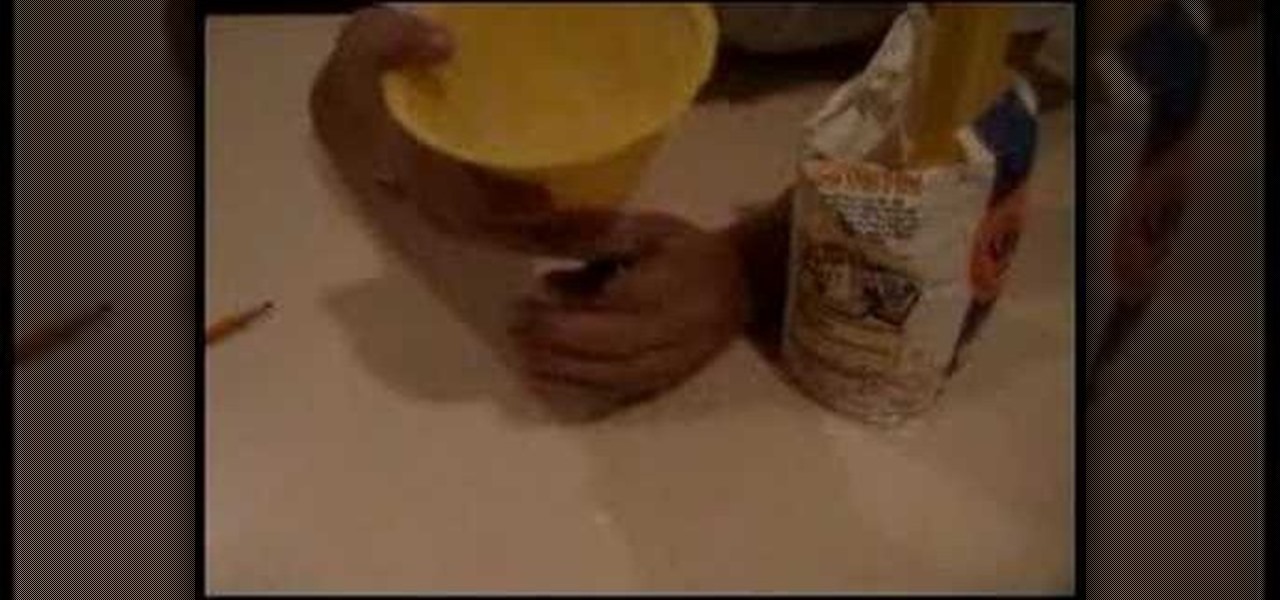
How To: Make a homemade squishy stress ball
In this video, they will show you how to make your own homemade stress ball. They show you all the materials that are needed and all the steps that you have to take. You first need a balloon and a to attach it to a funnel. You then fill the funnel with flour and push the flour through the funnel with a pencil. You would then tie the balloon and personalize the stress ball by making it a face. This is how they show you have to make your own stress ball at home.

How To: Whistle Like a Train
By following this tutorial, you can learn how to easily make a train whistle sound using only your hands. You can replicate the sound of a train whistle by simply folding your hands and adjusting for the airflow as you blow on your thumb knuckles. This is a very easy trick to learn, so with just a little practice, you can use the train whistle to play with your kids, call them to dinner, etc. It's a great trick for somebody who has difficulty with conventional whistling.

How To: Whistle loudly using your teeth
Never doubt the volume of your whistle again. This video shows you how to whistle loudly using your teeth. You'll learn proper position of your mouth and tongue to be able to make the loudest sound possible. With lots of practice you'll be the only one heard at the local games as you cheer on your favorite team or player. Watch this to get all you need to know to achieve that super loud whistle you've always desired, on the field or indoors.
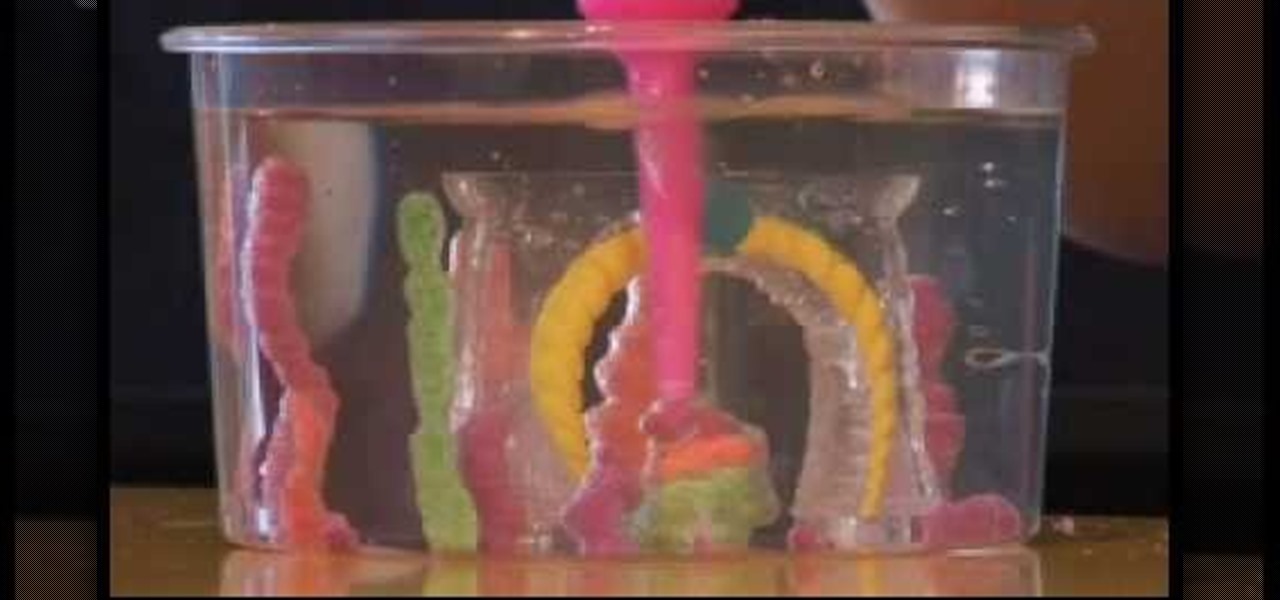
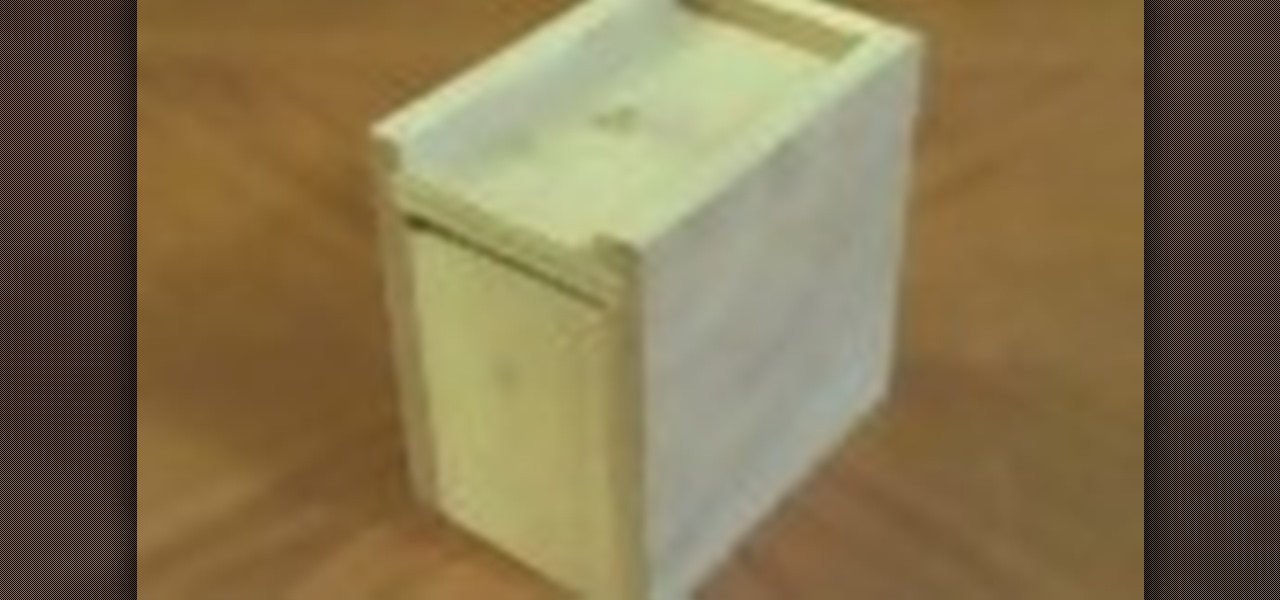
How To: Use Aqua Sand
This video explains how to set up an Aqua Sand gift box. The first step is to place the mold into the tank, and then fill with water. With a half-full bottle of Aqua Sand, by placing the nozzle face-down to the bottom of the tank and lifting upwards, you are able to create colorful towers. You can create multi-colored towers by starting with a wide base, then changing colors as many times as you wish while you move upwards. Users can also fill the mold with various colors of Aqua Sand, add de...
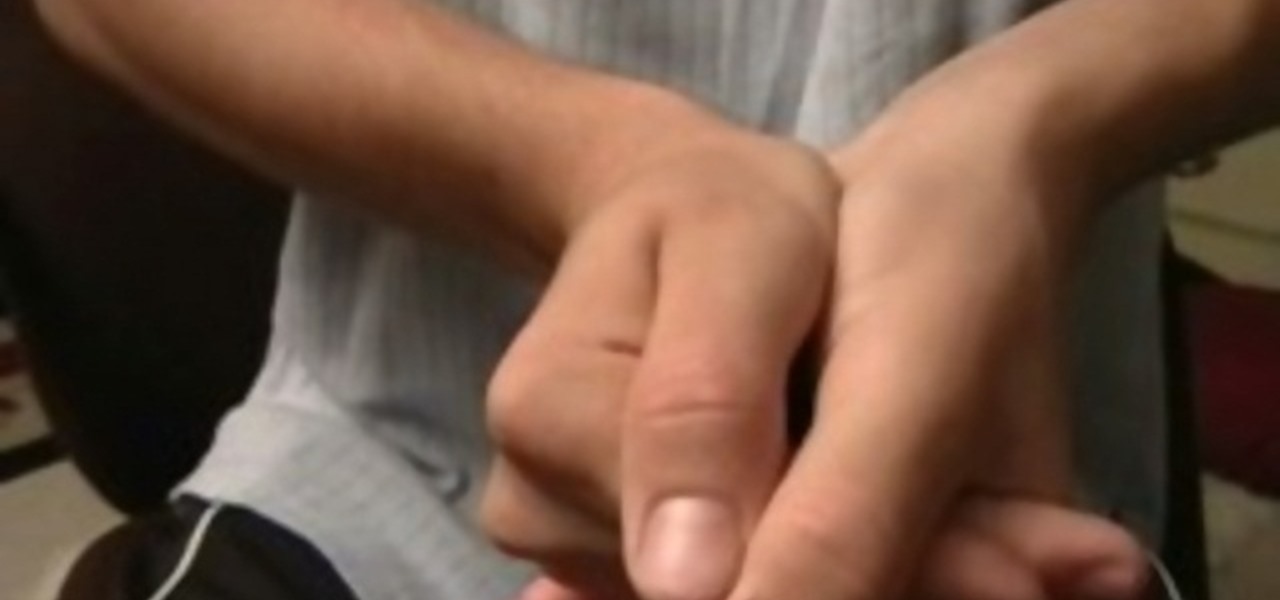
How To: Whistle like a horn with two hands
This video is all about how to whistle like horn with two hands. Its a very simple technique that will take few seconds but, require careful practice .In this video we are shown that first just sit in a relaxed manner and now just take your two hands as punch and join them in the direction, where thumb is leave a slight space and take near to the mouth and now just blow air with full force as much you can apply . It will not work in just one time but practice will make it perfect.
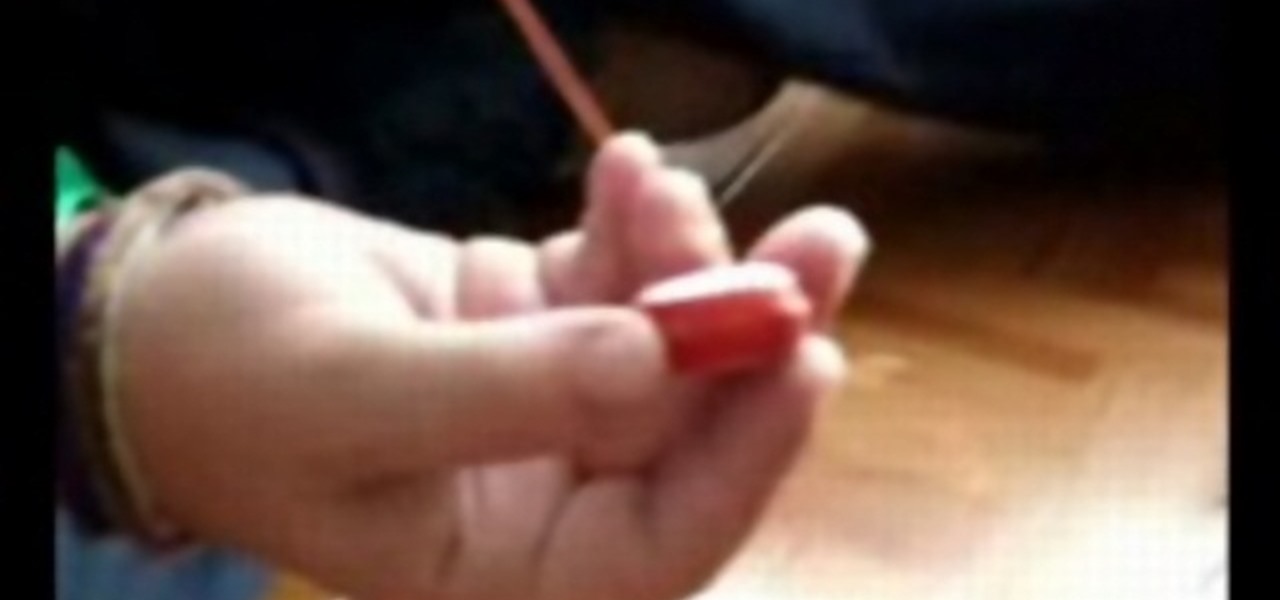
How To: Make an astrojax
Headline: Make an astrojax Description: Here you can make an astrojax which is a cross between juggling and a yo-yo.